
⭐ Veteran-Owned & Operated — Since 2003
America’s Trusted Flagpole Company
Premium flagpoles for homes, businesses, and government buildings. Unbeatable prices, free shipping nationwide, and 23 years of expert service you can count on.
Request a Quote
Tell us what you need and Bob will get back to you fast.
🔒 No spam. We’ll only use this to contact you about your quote.
Browse by Type
Find Your Perfect Flagpole
From residential telescoping poles to heavy-duty nautical and commercial installations — we have the right flagpole for every application.


About Bob’s Flagpole Company
Family-Owned. Veteran-Operated. American Made.
We pride ourselves on fast delivery, a fantastic selection, and prices that can’t be beaten. Plus, enjoy free shipping on every order. As a veteran-owned business with over 23 years of experience, we’re committed to making sure you’re completely satisfied.

Popular Flagpoles
Our Best Sellers
USA-made flagpoles trusted by homeowners, businesses, and government facilities across the country.
 Sale
Sale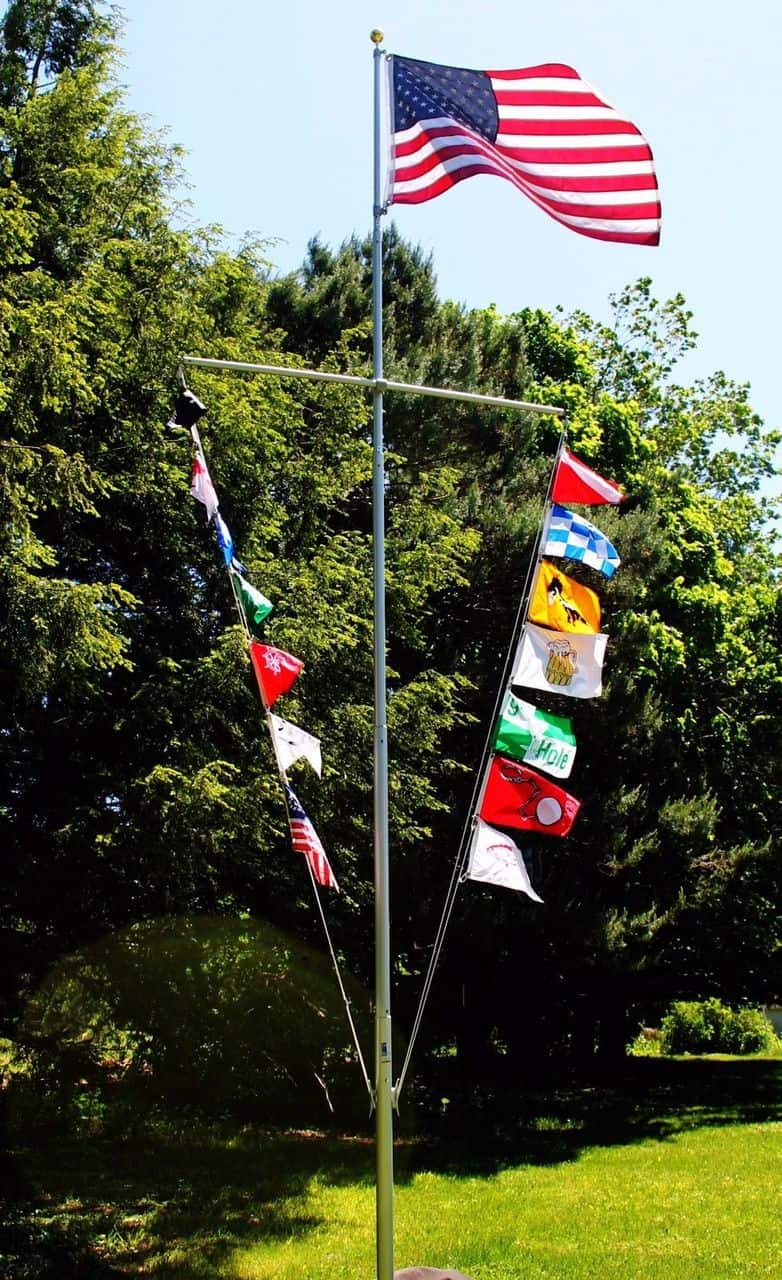
 Sale Sale
Customer Reviews
What Our Customers Say
As my neighbor said “That’s the nicest flag pole in the neighborhood.” For the money you cannot beat this flag pole. Bob’s easy and wonderful to work with.
Titan 25B Telescoping Flagpole KitThis is our 2nd pole. The ease of installation, quality and durability is exceptional. Love the telescoping feature — makes replacing a worn flag simple. You can’t go wrong with this product.
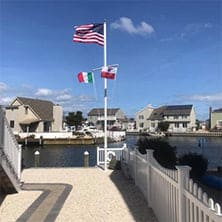
Super Heavy Titan 20S Telescoping FlagpoleI recently had two flagpoles cracked in half by strong winds. This flagpole does not even sway in the wind. The telescoping mechanism is so much better than rope and pulley. Buy one — you will love it!
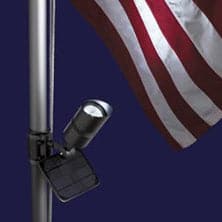
Titan 25B Telescoping Flagpole KitEvery Flag Pole should have this light on top of it. On top of a 25′ pole this light sets off my flag. Excellent product — works GREAT.
Titan Commercial Grade Solar Powered LightVery easy to raise and lower. The locking mechanism is tight so the pole doesn’t rattle. The pole is solid in the ground flying 2 flags. Very happy with this pole.
20B Aluminum Titan Telescoping FlagpoleReady to Fly Your Colors?
Call Bob directly — get expert advice, fast quotes, and unbeatable pricing on every flagpole.
📞 804-896-2991Common Questions
Frequently Asked Questions
Yes — free shipping on every order, nationwide. Only North Carolina residents are subject to sales tax.
We carry fiberglass flagpoles, nautical flagpoles, high wind flagpoles, telescoping flagpoles, flagpole lights, and American flags — suitable for residential, commercial, and government use.
Yes. We carry USA-made flagpoles from trusted manufacturers. Quality materials and American craftsmanship are a cornerstone of what we sell.
Call Bob directly at 804-896-2991. With 23 years of experience, Bob can walk you through the right height, material, and style for your specific needs — residential, commercial, or nautical.
We pride ourselves on fast delivery. Most in-stock items ship within 1–3 business days. Call us for lead times on specific products.
Get In Touch
Let’s Talk Flagpoles
Have a question about sizing, installation, or pricing? Bob picks up the phone. Reach out and get expert guidance today.
2401 Parker St, Tarboro, NC 27886