Solar Flagpole Light Installation Done Right
A flag that disappears after sunset misses half its presence. Good solar flagpole light installation keeps your flag visible, respectful, and well presented without trenching wire, hiring an electrician, or turning a simple upgrade into a weekend headache.
For homeowners, schools, businesses, and municipalities, the goal is usually the same. You want dependable overnight light, a clean look from the street, and a setup that holds up in real weather. That sounds simple, but the result depends on choosing the right light, mounting it correctly, and understanding a few details that generic how-to articles usually skip.
Why solar flagpole light installation matters
A solar light is not just an accessory. It affects how the flag looks at night, how often you need to service the setup, and whether the lighting performs consistently through different seasons.
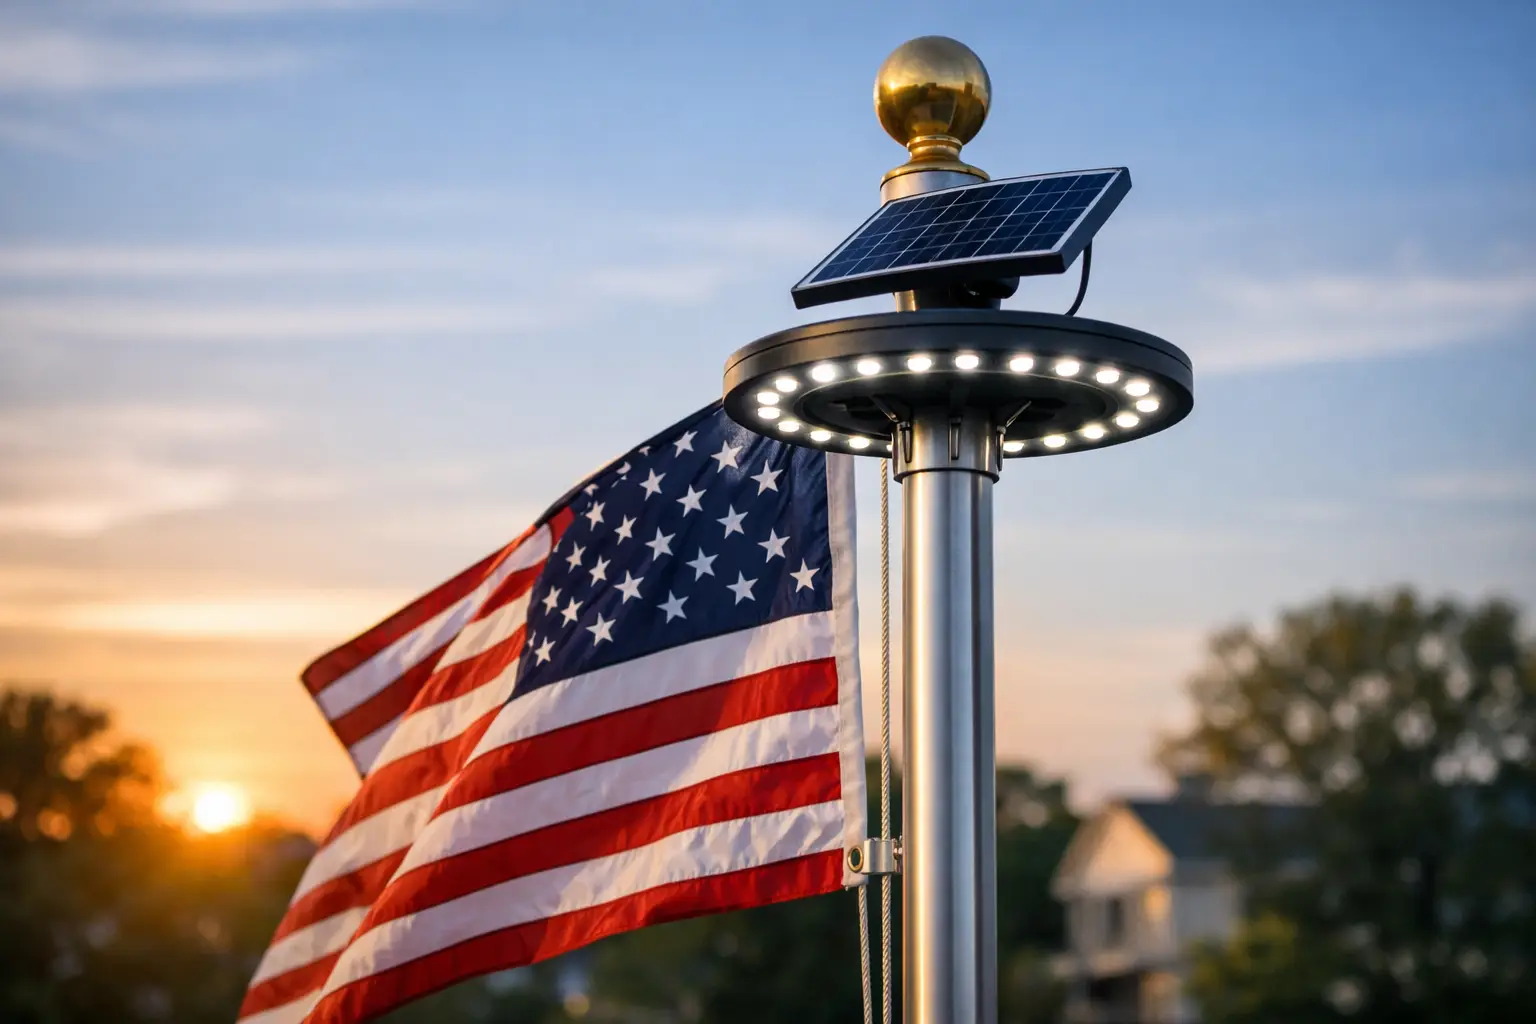
The biggest advantage is convenience. A properly designed solar light mounts at the top of the pole and charges through the day, so there is no extension cord across the lawn and no need to disturb concrete or landscaping. For many property owners, that makes solar the cleanest solution by far.
But there is a trade-off. Solar performance depends on daylight exposure, panel quality, battery capacity, and installation position. A light that works well on an open residential lot in Texas may struggle on a shaded commercial property in Michigan during winter. That does not mean solar is a bad choice. It means the installation has to match the site.
Start with the right light for your pole
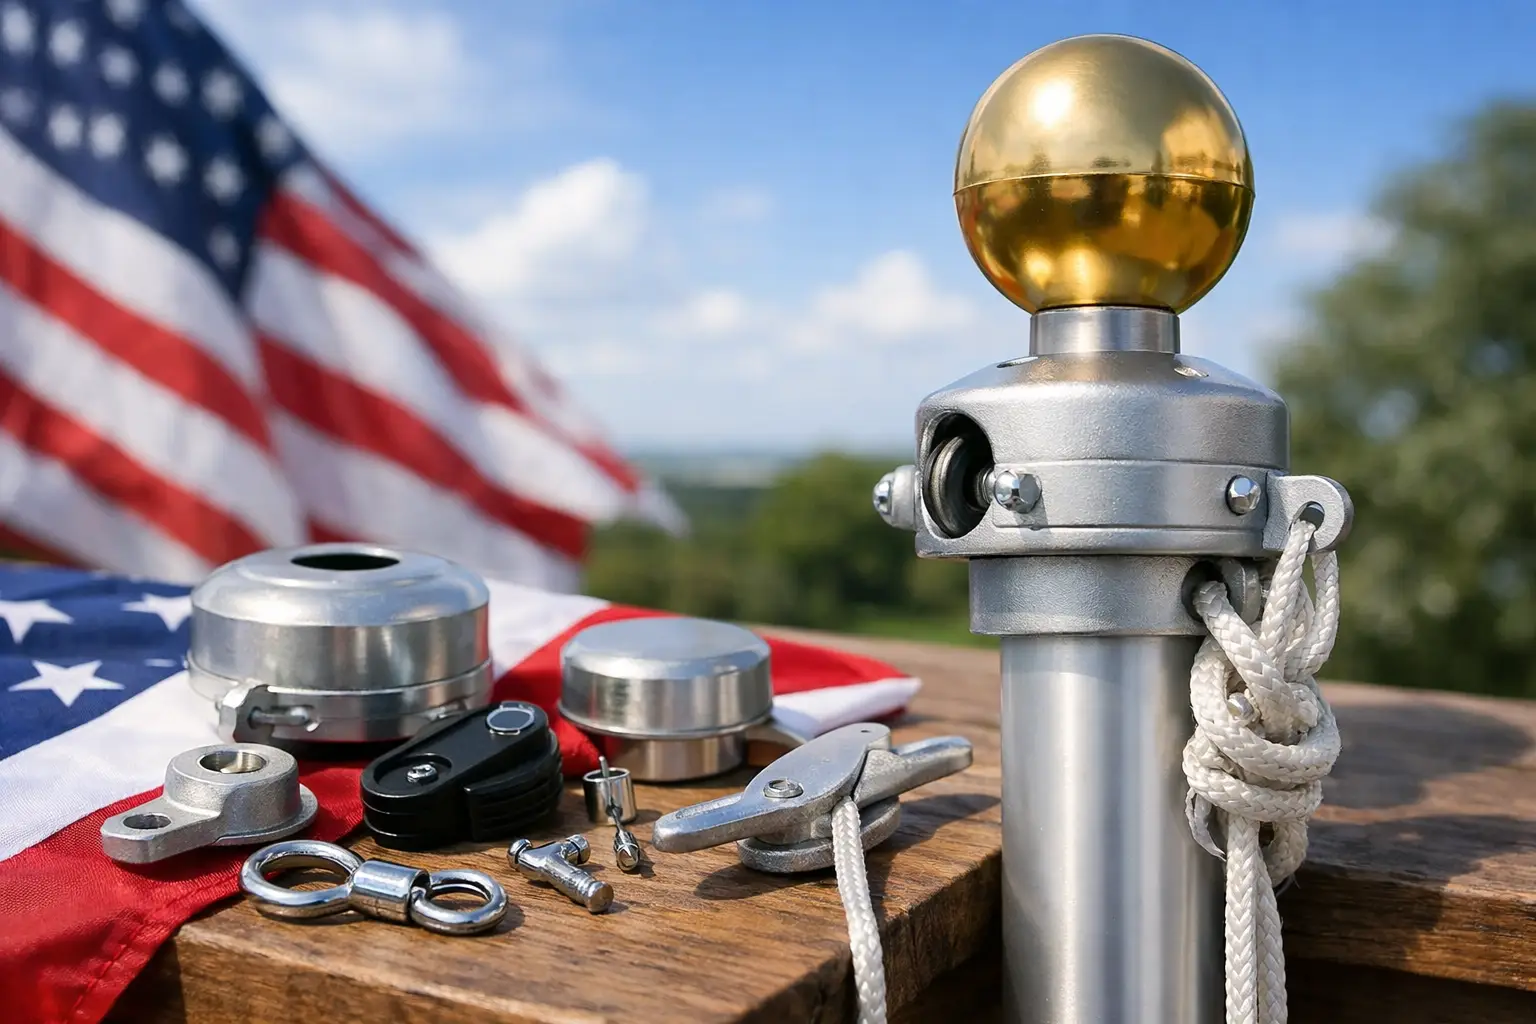
Before you mount anything, confirm that the light is compatible with your flagpole style and top assembly. This is where many buyers run into trouble. Not every solar light fits every ornament spindle, truck assembly, or pole diameter.
For a traditional sectional or commercial-style pole, the light often installs beneath the ball topper and above the truck or mounting hardware. For telescoping flagpoles, the setup may be different depending on the manufacturer and top cap design. If the light is loose, undersized, or forced into place, it may sit crooked, rattle in wind, or fail early.
Weight matters too. A heavier solar light can be perfectly fine on a sturdy pole, but it may not be ideal for every lighter residential system. Wind exposure also matters. A property in an open coastal area or on a hilltop needs hardware that stays secure when gusts pick up.
This is where working with a true flagpole specialist helps. At Bob's Flagpole Company, customers often call for exactly this reason - they want to make sure the light matches the pole before ordering, not after climbing a ladder and finding out it does not fit.
What to check before installation
A successful install starts on the ground. Take a few minutes to inspect the site and the pole before you head up.
Look at sun exposure first. Solar panels need direct daylight for the strongest overnight performance. If your flagpole sits under mature trees, close to a building overhang, or on the north side of a tall structure, charging time may be reduced. Even a premium light has limits if the panel spends much of the day in shade.
Next, inspect the top of the pole. Make sure the ornament, spindle, and any existing hardware can be removed cleanly. On older poles, threads may be tight from weather exposure. If hardware is corroded, deal with that before forcing the light into place.
Finally, choose the right conditions for the install. A dry day with little wind is best. Flagpole work is straightforward, but it should never be rushed. If the pole is tall, heavily exposed, or difficult to access safely, it may be worth having experienced help on site.
How to handle solar flagpole light installation
The exact steps vary by flagpole and light design, but the process usually follows the same pattern. Lower the pole if it is telescoping, or use safe access equipment if the pole is fixed and designed for top access. Remove the topper or ball ornament carefully, keeping all washers and threaded pieces together.
Set the solar light onto the mounting stem or bracket according to the manufacturer's design. The fit should be snug and centered, not forced. Reinstall the topper or cap so the assembly is secure, then check that the light sits level. A crooked light can affect both appearance and beam coverage.
Before raising the pole or finishing the job, test the unit. Many solar lights have an on-off switch or a mode setting. Cover the panel briefly or wait until dusk to confirm the LEDs activate. This is a small step, but it saves a lot of frustration.
Once everything is working, raise the pole and look at the beam pattern after dark. The flag should be illuminated clearly, not just the pole top. If the light appears dim, the first question is usually not installation quality but charging conditions. A brand-new unit may need a full day of direct sun to perform at its best.
Common mistakes that shorten performance
Most solar light problems are not true product failures. They are setup issues.
One common mistake is installing the light where the panel spends too much time in shade. Another is assuming all nighttime performance claims are equal. Some lights are built for long summer days but struggle when daylight hours shorten. Battery quality and LED output make a real difference.
A third mistake is ignoring fit. If the light is adapted with makeshift hardware, it may loosen over time. That is especially true in windy areas. The cleaner the fit, the better the long-term result.
There is also the question of flag size. A larger flag on a taller pole needs stronger, wider illumination than a small residential display. If the lighting looks weak, the issue may be that the light is undersized for the flag, not that the install was done incorrectly.
Seasonal expectations and upkeep
Solar lighting is low maintenance, not no maintenance. Dust, pollen, bird droppings, and road grime can reduce charging efficiency, especially if the panel sits flat on top of the pole. Cleaning the solar surface occasionally with a soft cloth and mild cleaner helps more than many people realize.
Battery performance changes over time as well. If a light that once ran through the night starts fading early, the battery may be reaching the end of its service life. In colder climates, shorter days and lower temperatures can also reduce nightly run time. That is normal, and it is one reason premium components matter.
It also helps to inspect the mounting hardware every so often, particularly after storms or seasonal high winds. A quick visual check from the ground can catch a shifted topper or loose assembly before it becomes a bigger problem.
When solar is the right choice and when it depends
For most residential flagpoles and many small commercial properties, solar is an excellent option. It is clean, efficient, and easy to add without major site work. If the pole gets solid daylight and the light is matched properly, the result is usually very satisfying.
For heavily shaded locations, very tall commercial poles, or sites where absolute all-night brightness is non-negotiable year-round, it depends. In some cases, a wired lighting system may provide more consistent output. That does not make solar inferior. It simply means the site should guide the decision.
That is the difference between buying from a general retailer and working with a flagpole company that knows the hardware. The right recommendation depends on pole style, flag size, wind conditions, and sun exposure, not just a product photo and a price tag.
Getting a better result from day one
If you want solar flagpole light installation to go smoothly, think beyond the light itself. Make sure the mount is correct, the location gets enough sun, and the output matches the size of your flag. Those three factors matter more than flashy marketing claims.
A well-lit flag stands out for the right reasons. It shows care, respect, and pride in the display, whether it is in front of a home, a storefront, a school, or a government building. If you are unsure which light fits your pole or whether solar is the best choice for your property, the smartest next step is simple - get expert advice before you install, not after.